
How To Add Text To A Photo With inPixio Photo Editor
- On the right-hand tabs, click Text to display the relevant module.
- Click the photo to position and stretch your textbox.
■ Enter your text then adjust the Font, Size, Style, Color, Opacity and Alignment options.

Inserting text
The Text tab is shown by default
- Click the photo to position and stretch your textbox using the handles.
- Enter your text and set the options for Font, Size, Style, Color, Alignment and Opacity.
To save your photo with the new text, click the Save button.
Add predefined text
- From the Text tab, double-click on a sample text to position it on your photo.
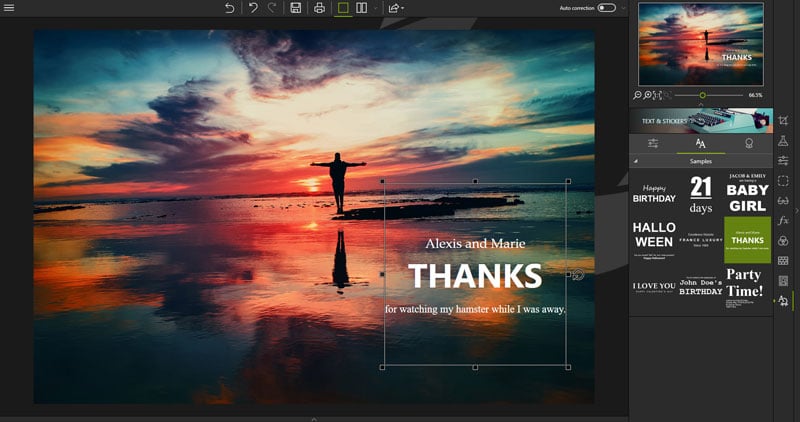
2. If necessary, adjust the position of the predefined text:
■ Place the cursor over the border of the text inset until it changes to a hand. Click and drag the text to the desired location.
- If needed, adjust your customization using the Settings tab:
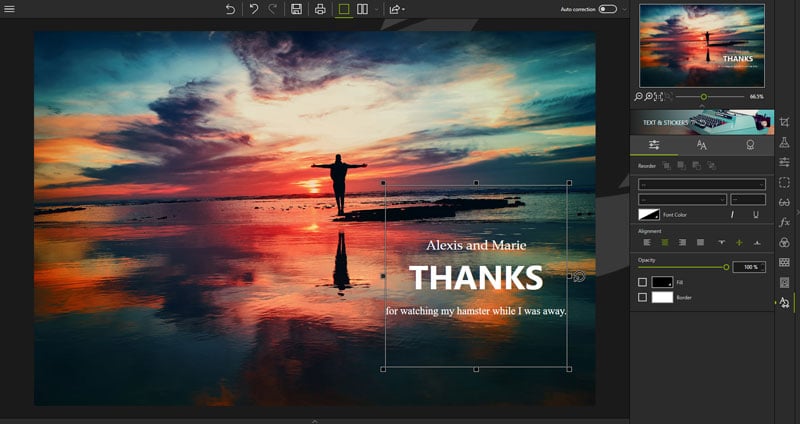
■ Use the Reorder toolbar to place your text in the foreground or background of your photo, or in front of/behind another item (text, sticker).
■ Set the options for Font, Size, Style, Color, choose an Alignment and set the Opacity.
■ Check the Fill and Border boxes to activate their options.
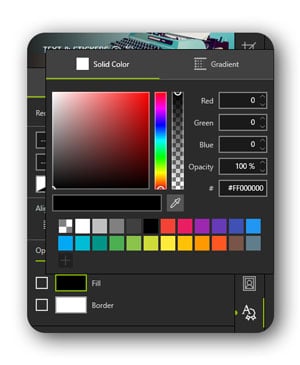
Fill :
If checked, click the gray arrow to display the color options.
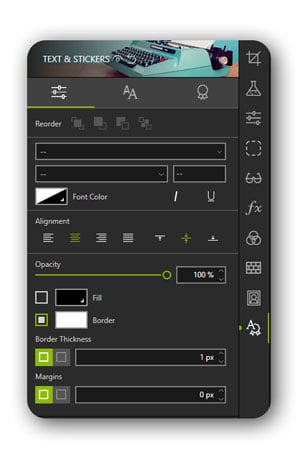
Border:
If checked, set the desired border thickness and margins using the up/down arrows.
Apply a sticker
To add the perfect finishing touch to one of your photo creations, you can apply a sticker.
- Click the Stickers
- Click the triangle icon to expand the category of stickers you want to apply, such as Lines.
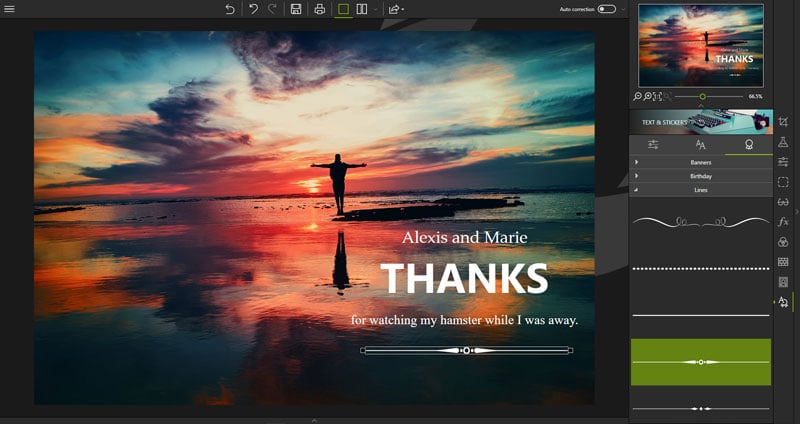
- Drag the line onto your photo to highlight the inserted text.
- If needed, adjust your customization using the Settings tab:
■ Set the display of your stickers (foreground, background, front, behind an item).
■ Set the opacity of the sticker.
■ Click Color to choose/create a color or define a gradient.
To save your photo with the new sticker, click the Save button.


Mastering Image Resizing: A Step-by-Step Guide on How to Resize an Image
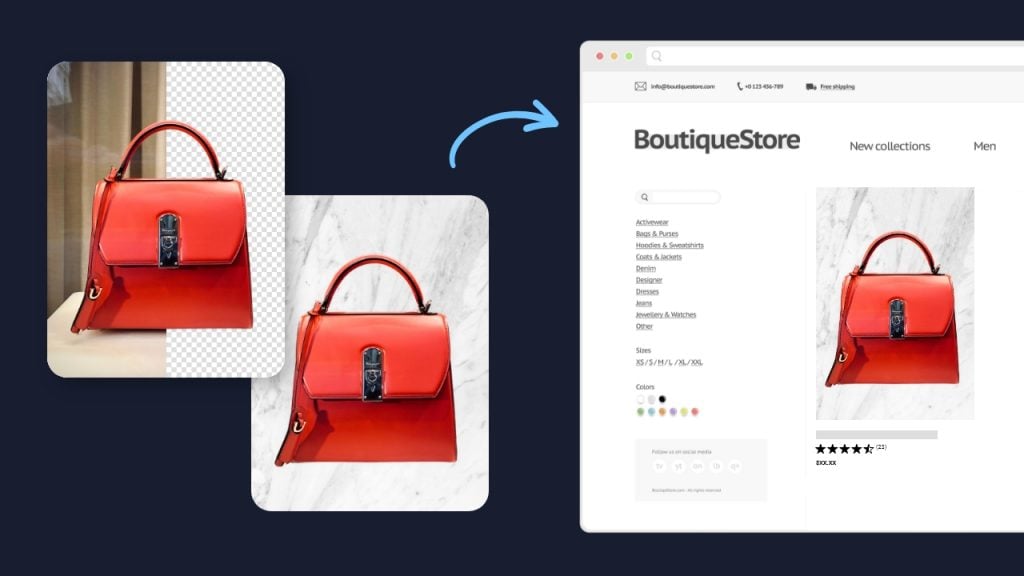
How to Remove the Background from a Picture with inPixio: A Step-by-Step Guide

What are WebP files and how do you convert them?

5 Social Media Photo Tips for Busy Small Business Owners


