How to enhance a photo
There are so many ways you can enhance your photos with a few simple adjustments. For example, you can brighten a dull photo, or add sharpness. You can also use filters and effects to give your photo a boost or achieve a specific look, such as vintage, black and white or cinematic.
Learn how to easily enhance your photos with the tools in inPixio Photo Studio. If you don’t already own Photo Studio, you can download our free photo editor and test some of these enhancements.
Brighten a dull photo
If your photo looks a little dull or flat, you can enhance it using the editing tools.

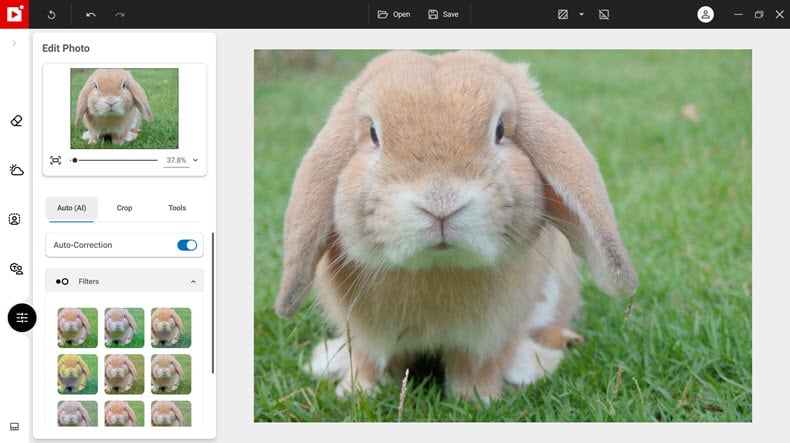
To begin, click the Edit Photo tab.
Click “Auto correction” to give your photo an instant enhancement.
You can also choose a filter for your photo.
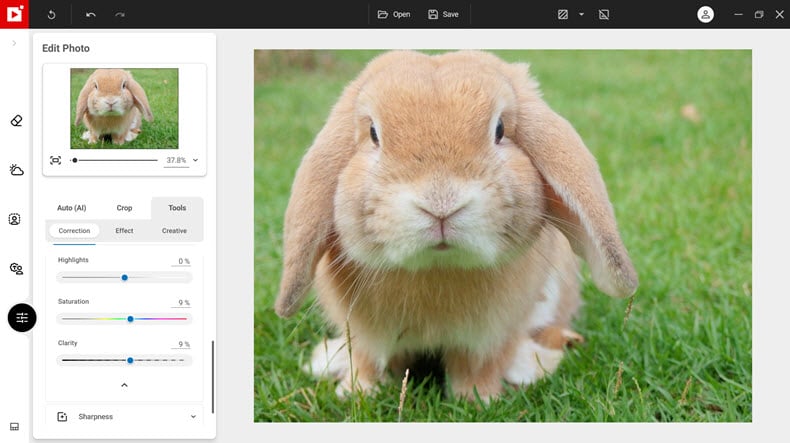
Next click “Tools”, “Correction”, then “Adjustments”.
Use the sliders to adjust image settings such as temperature, exposure, shadows, and contrast.
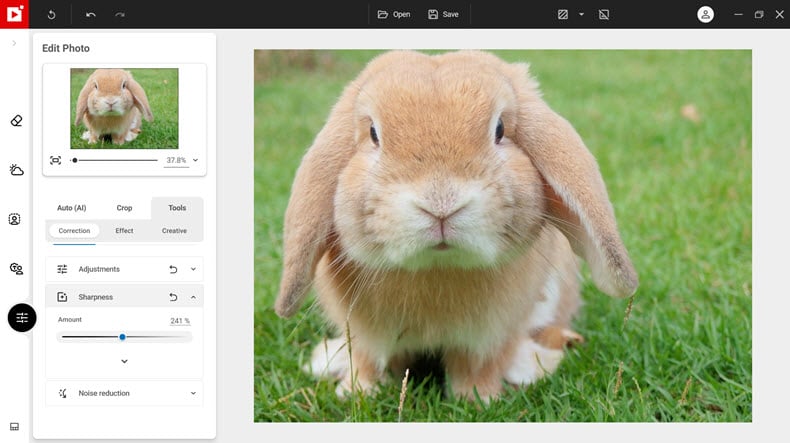
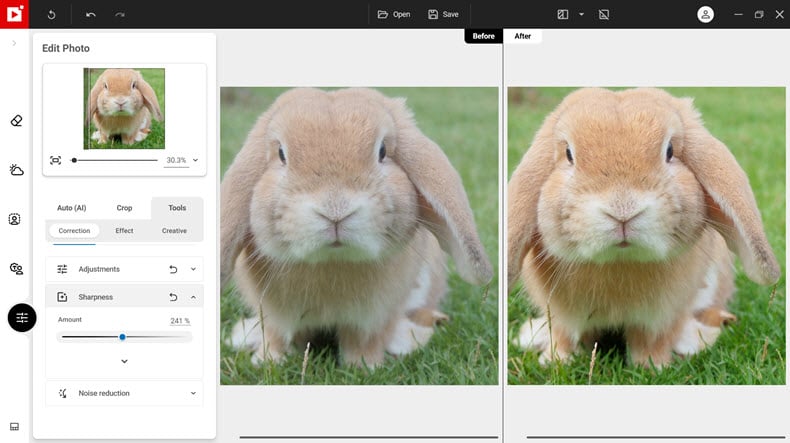
Add sharpness to a picture
In the Correction tool, you can also sharpen your image, to bring out the details and enhance texture.
Move the slider to the right to increase sharpness.
Enhance a photo with effects
From adding filters to creating a vignette, effects give you many possibilities for enhancing your photos. Learn more in our post on photo effects.
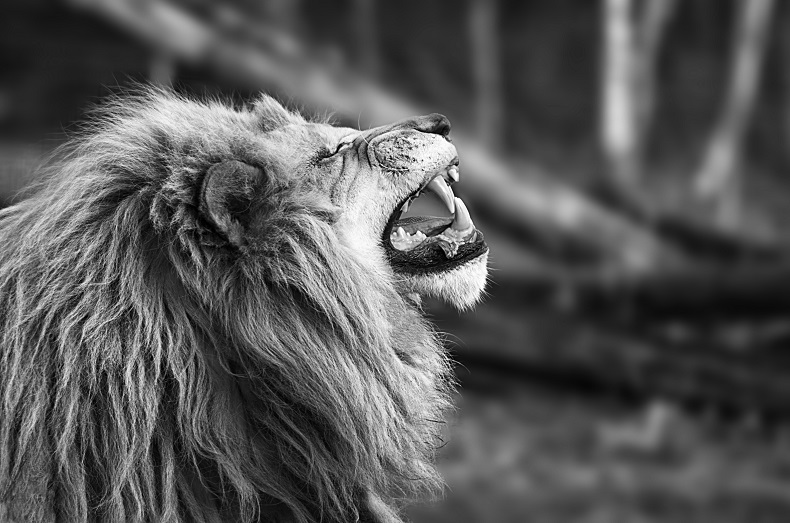
Make a black and white photo
Black and white photos are timeless and represent a true artistic choice that can lend a special beauty to your photos.
There are 2 ways to turn a color photo into black and white using the Tools tab, in the Edit Photo module.
- In Correction-Adjustments, move the saturation slider to -100% to remove color
- In Creative-LUTs, choose a Black and White LUT style from the selection available
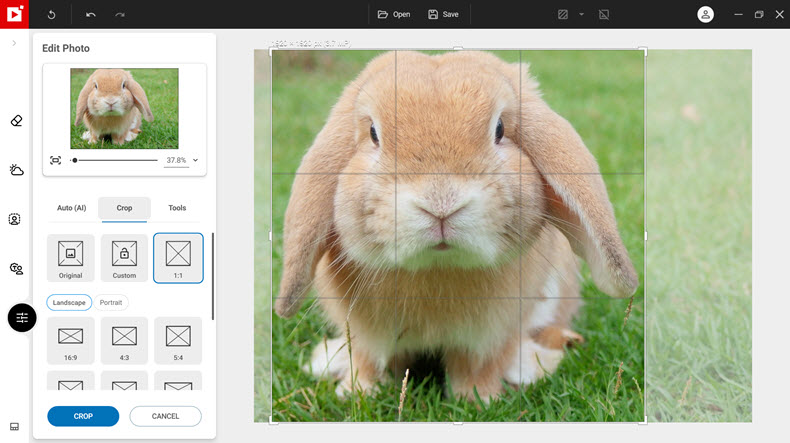
Crop a photo
It may be a basic edit, but cropping can be a simple way to enhance your photo. Cropping helps to position your subject in the right position, and cut out unneeded content in the picture.
Cropping your images to a standard size is also useful for printing them or sharing them on social media. Learn more in this post on photo cropping.
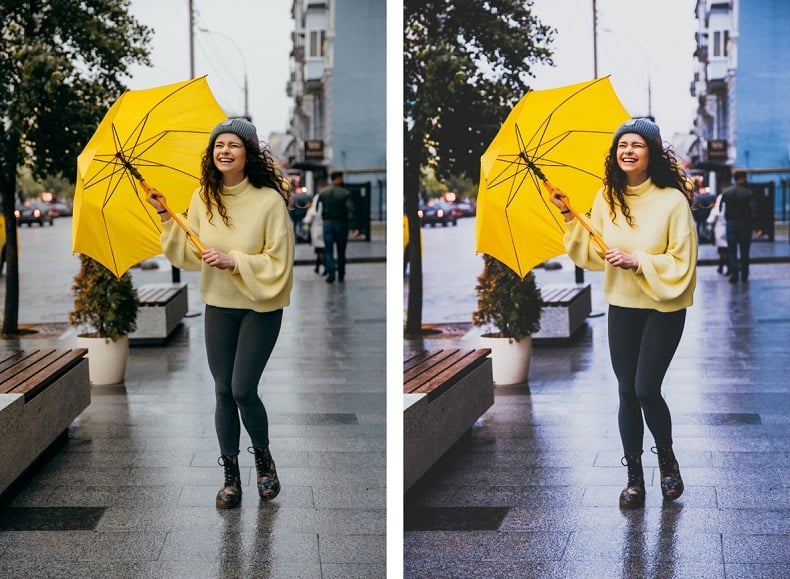
Using a Before/After View
Whichever edits you use to enhance your photo, compare your new picture to the original by using a side-by-side.
In the top toolbar click Dual views then select a view from the list. You can also edit directly in a dual view to see your changes as you work.
Join us!
If you want to learn faster, why not join our inPixio Facebook community, where thousands of inPixio users exchange tips about the software and share their photos.


Mastering Image Resizing: A Step-by-Step Guide on How to Resize an Image
How to Remove the Background from a Picture with inPixio: A Step-by-Step Guide

What are WebP files and how do you convert them?

5 Social Media Photo Tips for Busy Small Business Owners