How to make a photomontage
The Photomontage feature in Photo Studio allows you to create all kinds of original designs using your own pictures.
You can use AI-powered templates to make a fun picture or greeting in seconds. You can also add text and graphics to your photos. What’s more you can cut out objects and people from your own photos and add them to a new background.
Discover how you can combine photos, text and graphics to create amazing new pictures.
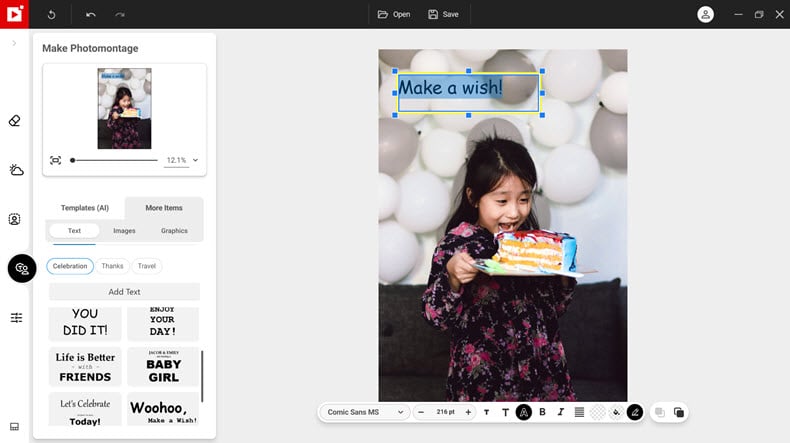
Experiment with Photomontage templates
You can easily create a fun picture or greeting using the Photomontage templates in Photo Studio.
To begin, click the Make Photomontage tab
Next, choose a template from the library.
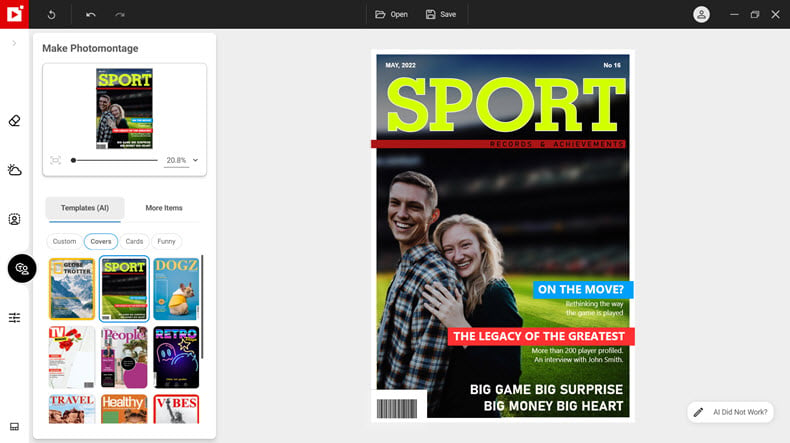
Photo Studio automatically adds your picture to the template.
- You can adjust the size and position of your photo on the template.
- You can also move, edit or delete the text boxes on the template.
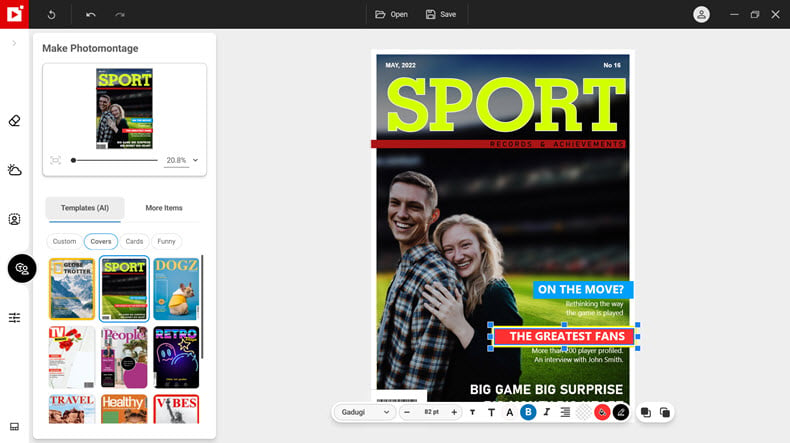
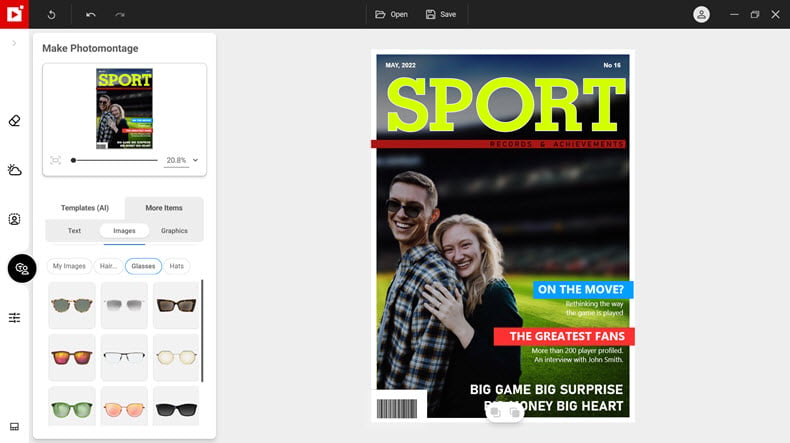
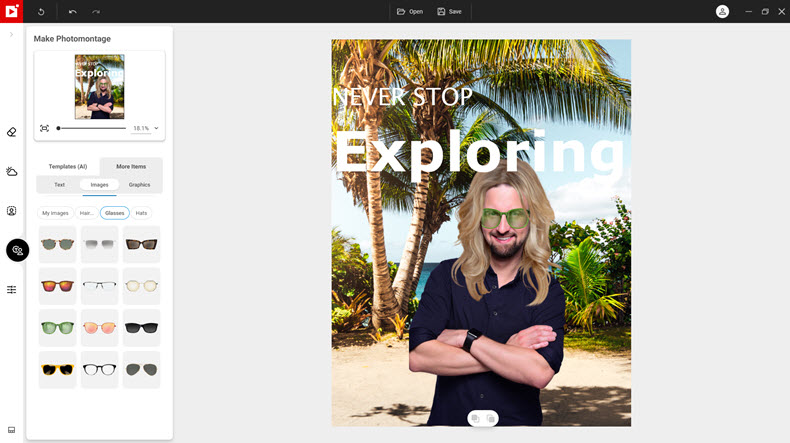
To add more content to the template, click “More items”. Then drag and drop images, graphics and text onto your picture.
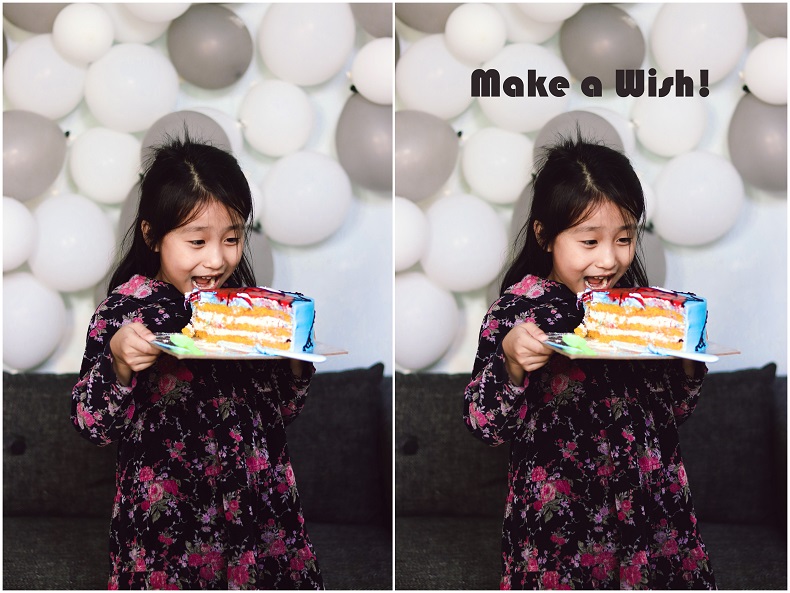
Add text to a picture
You can add text to any photo using the Photomontage tools.
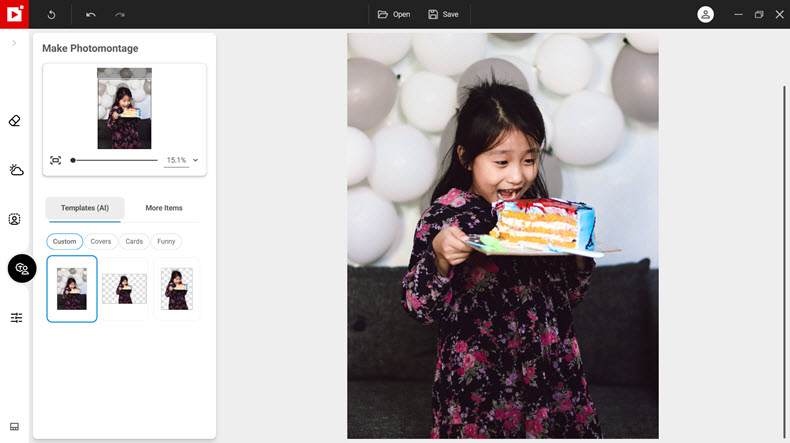
Open your photo in the “Make Photomontage” tab. Then, click “Custom” and select your original image.
Next, click “More Items”, then “Text”.
Drag and drop a text template onto your image.
Text formatting options now appear at the bottom of the screen. Click the text box to edit the text.
For example, you can change the font and font size. And you can change the color and opacity of your text.
Deselect the text box to check the finished result.
Combine images to make an original photomontage
In addition to using the templates, you can make your own fun photomontages by opening a background photo and adding transparent images.

Open your photo in the “Make Photomontage” tab. Then, click “Custom” and select your original image (see Add Text section).
Next, click “More Items”, “Images” then navigate to “My Images”. Click on the plus and select “adding images” to add a picture to the library.

To cut out a photo and add it to the library select “adding and clipping images”.
Photo Studio automatically isolates your subject and adds the transparent photo to the library.
Now all you have to do is drag and drop the cut-out image onto the background.
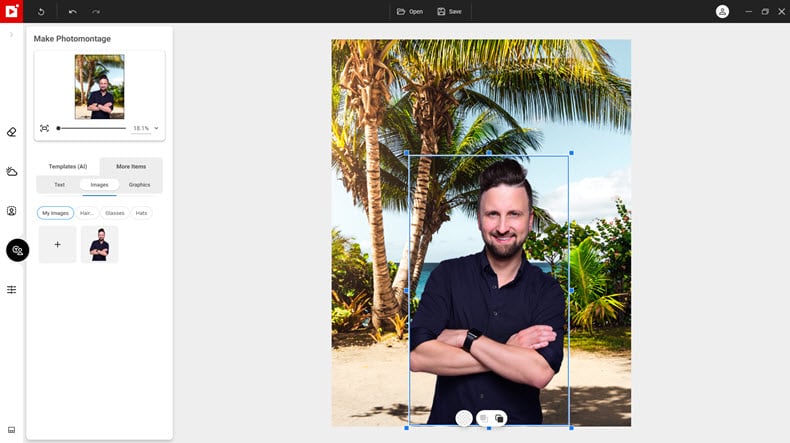
You can finish off by adding other images and text to your photomontage.
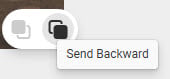
Tip: to re-order the different elements in your photomontage, select an item and navigate to the “Send Forward” “Send Backward” icons in the bottom toolbar.
Join us!
If you want to learn faster, why not join our inPixio Facebook community, where thousands of inPixio users exchange tips about the software and share their photos.


Mastering Image Resizing: A Step-by-Step Guide on How to Resize an Image

How to Remove the Background from a Picture with inPixio: A Step-by-Step Guide

What are WebP files and how do you convert them?

5 Social Media Photo Tips for Busy Small Business Owners