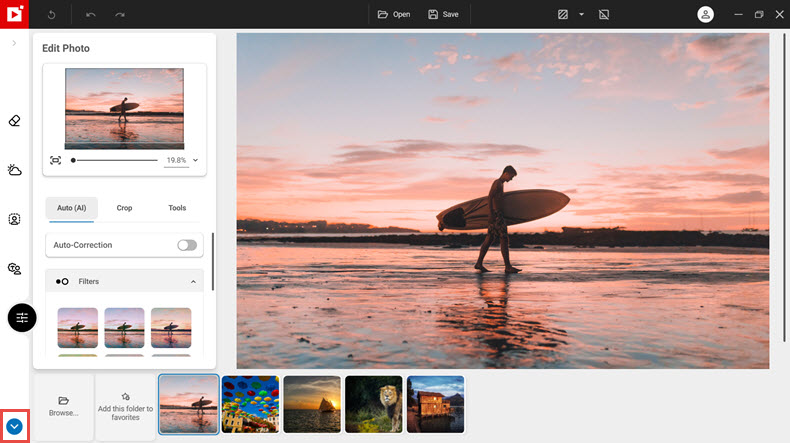
Navigating the main interface – the basics
inPixio Photo Studio has a simpler interface than many picture editors and doesn’t take long to learn. Here are 6 essential things to know to find your way around more quickly.
1. Home Screen
When you open Photo Studio you arrive on the home screen. From here you can select which type of editing you want to start with. Click on one of the options and Photo Studio prompts you to open a photo before taking you directly to this tab.
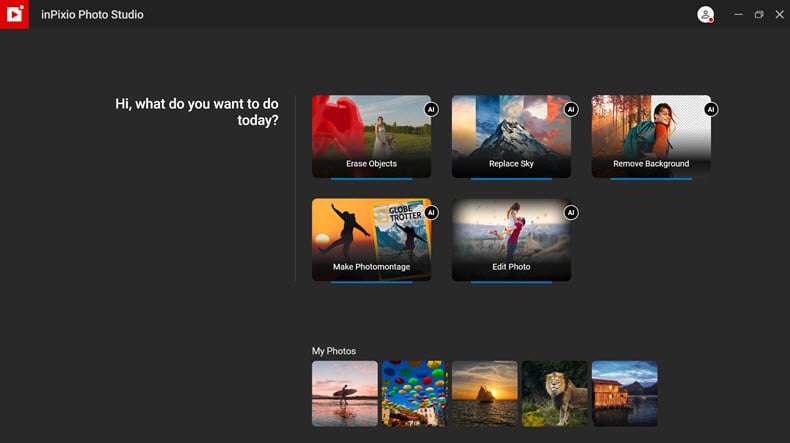
Alternatively, you can select a recent photo from the list at the bottom of the home screen. Left click a photo to open it directly in the editing tab. Or right-click it to select the tab you want to open this photo in.
You can return to the home screen at any time during your editing, by clicking the inPixio logo in the top left-hand corner of the main workspace.
2. Tabs and Tools
All editing tools are stored in tabs in the left-hand panel. Click on a tab to open the editing options inside. Some tabs contain multiple tools which you can expand or collapse by clicking them.
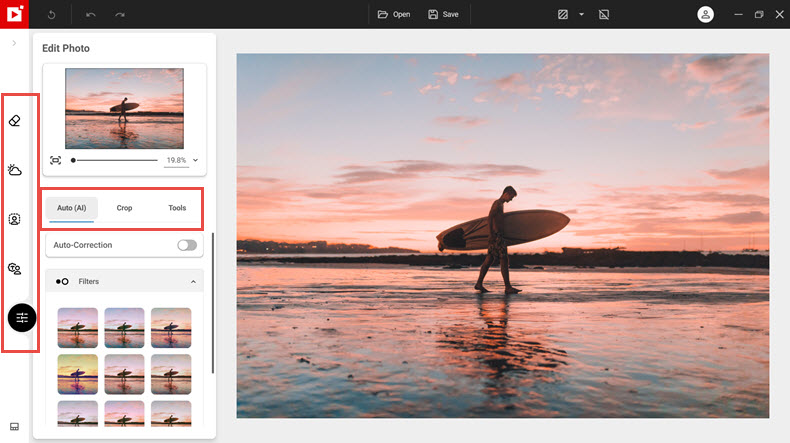
3. Navigator and Zoom Options
At the top of the left-hand panel you will find the navigator and zoom options.
- Use the slider to zoom in or out of your picture.
- Or select one of the zoom options in the drop-down menu
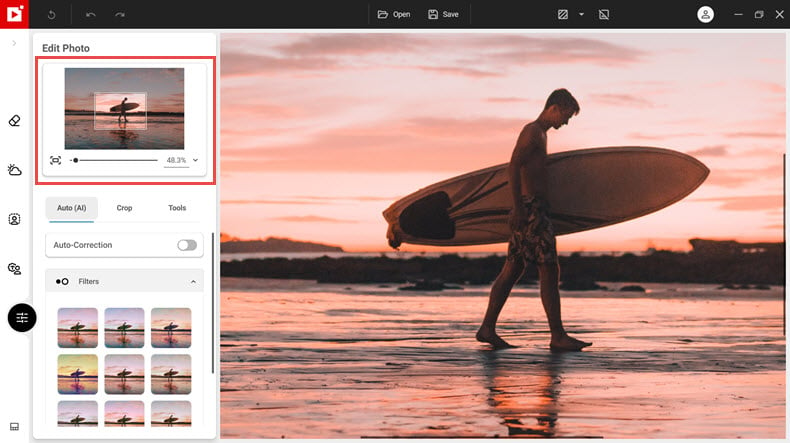
When you zoom in, the navigator displays a box over the part of the image that is visible in the workspace.
- Move the box with your mouse to show a different section of the image in the workspace.
4. View Options
In the Edit Photos tab, you can compare your edited picture to the original using a dual view or a before/ after view.
Dual view
The dual view offers a side-by-side or split comparison of your edited and unedited images.
- Click the “Dual view” icon in the top toolbar.
- Select one of the dual views from the drop-down menu.
Editing in a dual view helps you keep track of changes as you work.
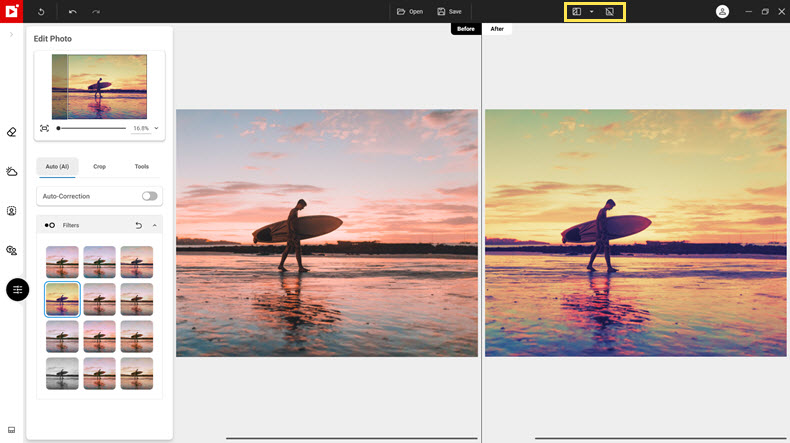
Before/After view
The Before/After option is a quick way to compare your edited and unedited images in a single view. Hold down the Before/After button to view your original image without edits. As soon as you let go of the mouse button, the workspace will return to your edited image.
5. Filmstrip
The filmstrip lets you navigate your folders and open new images. It displays all the images in the same folder as the one you are currently editing.
- Click on the small icon at the bottom left corner of the workspace to open the filmstrip.
- Click any image in the filmstrip to open it in the workspace.
- Or click “browse” to select a new folder on your computer.
Tip: You can also add folders as favorites.
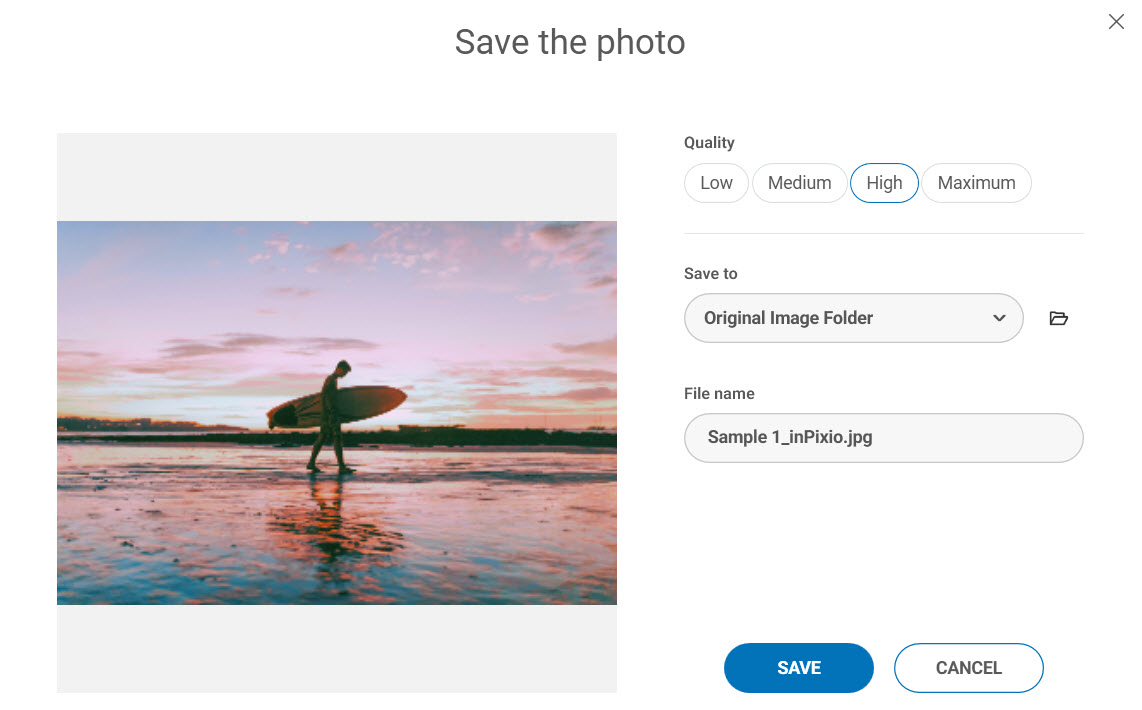
6. Save Options
To save a photo, click the Save button in the top tool bar. This opens a window where you can choose your save options.
- Select a quality level for the saved photo
- Choose the location to save to (by default, the original image folder)
- Choose a name for the saved photo (the suffix _inPixio is added by default).
Join us!
To learn more quickly and for lots more tips and tutorials, join our Facebook group!


Mastering Image Resizing: A Step-by-Step Guide on How to Resize an Image
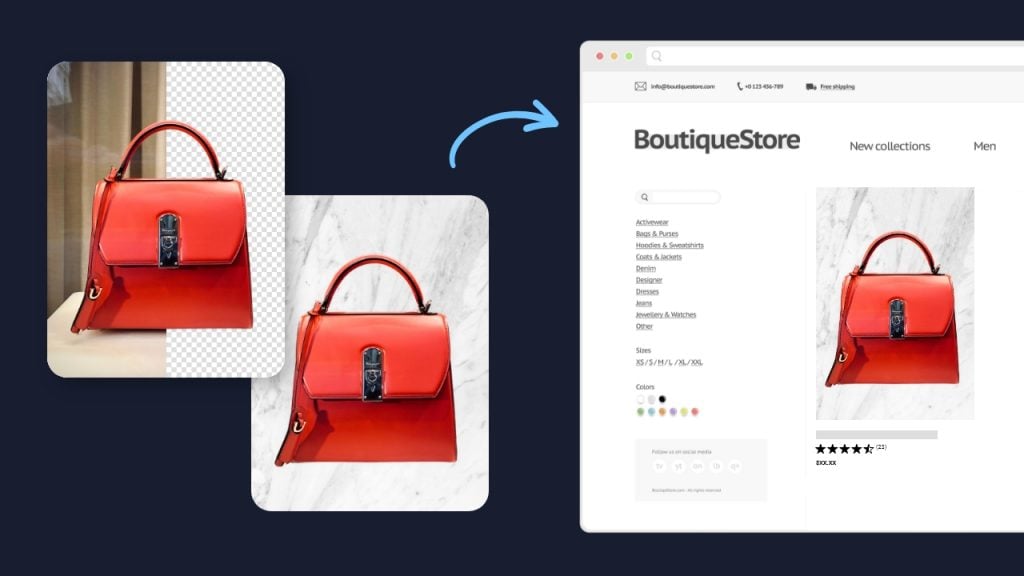
How to Remove the Background from a Picture with inPixio: A Step-by-Step Guide

What are WebP files and how do you convert them?

5 Social Media Photo Tips for Busy Small Business Owners