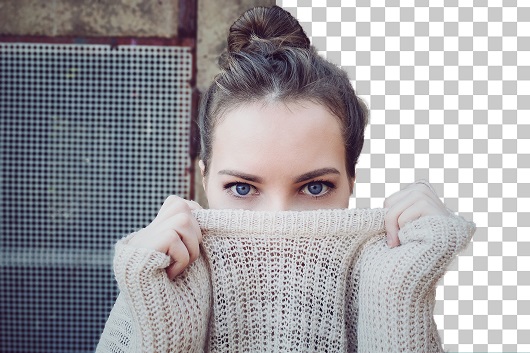
Fine tune your cut-out
Our background changer gives you complete control over your photo background removal. After you remove the background from your image, you can use the red and green markers to edit and improve the automatic selection made by the AI. Use the red marker to erase more areas of the photo background. Use the green marker to recover more parts of the image foreground. Don't forget to zoom in and adapt brush size for higher accuracy!
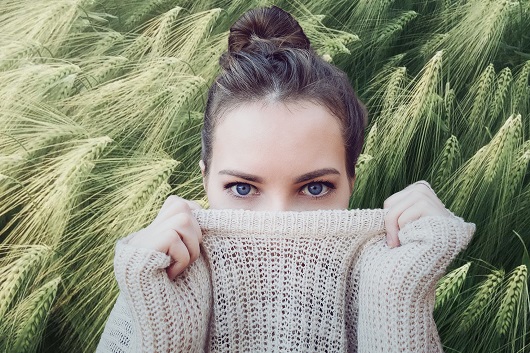
Use edge smoothing
Sometimes, when you paste your cut-out onto a new background, you can tell that it wasn't part of the original image. This is where edge smoothing comes in. Feathering the edges of your subject can help it "blend in" better with the new background. Check the Adjust box and increase or decrease the amount of smoothing with the slider.
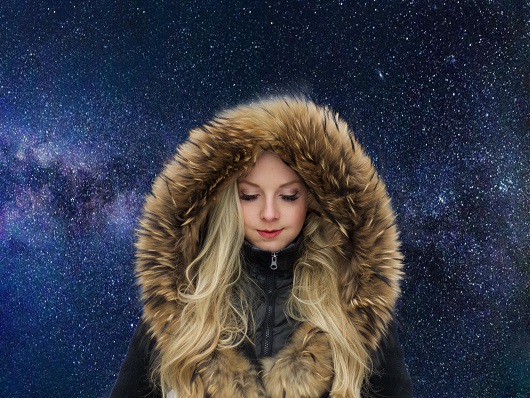
Choose a complimentary background color
For the best results with changing a background, choose a new backdrop that highlights your subject. Simple colors and motifs are often best for portrait and product photos as they help put the focus on your subject.