8 iPhone Photography Tips
Is your iPhone the number one thing you never leave the house without? Then good news: that means you have a high-quality camera in your pocket wherever you go.
As a photographer and writer at Shotkit, I’m always looking for the best. I believe that in mobile photography, the iPhone is the best – so much so that it became a category on its own: iPhoneography.
Apple has aimed to take the lead in cameraphone technology since the beginning. Release after release, they’ve continued to improve the quality of the iPhone camera and the features in it.
Even their advertising campaigns are done with the iPhone they’re promoting, and the quality is stunning even on billboards.
An impressive example was the “One Night on iPhone 7” campaign. It was designed to showcase the low light performance of the phone’s camera.
Additionally, professional artists have done entire projects using iPhones. For example, Julian Calverley made a landscape photography book called #IPHONEONLY using – obviously – only an iPhone.
The only downside to this amazing technology is that there’s so much competition. So, if you want to stand out in this category, you need to give your images some extra ‘oomph’.
Here are some tips to make the most out of your iPhone camera.
1. Improve your composition
The first thing that you need to do for an eye-catching image is to compose your picture in a pleasing way.
This helps guide the eye of the viewer through your image toward the main element in the frame.
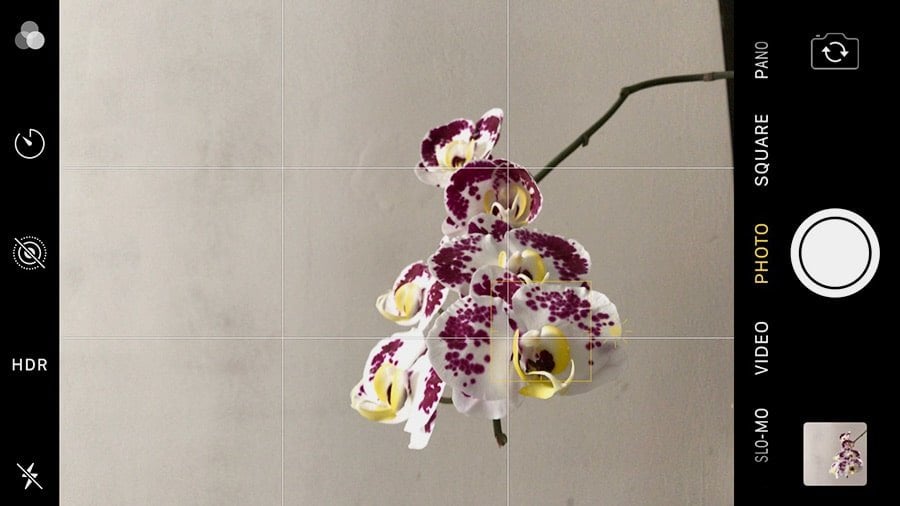
Taking advantage of the grid on your iPhone camera, you can compose your images using the rule of thirds. Place the key elements on the points where the lines intersect.
2. Don’t forget to accessorise
A lot of people underestimate the value of accessories for iPhone photography. That said, they can change the level of portability that you would otherwise have.
Your phone is always with you in your pocket, and that’s one of the great things about using it as a camera. It’s becomes a different thing if you have to pack a tripod, a lens, etc.
Still, that’s only true if you’re still thinking of it as just a phone.
If you start considering it as a camera, it makes total sense to use the accessories – and believe me, it will take your photography to the next level.
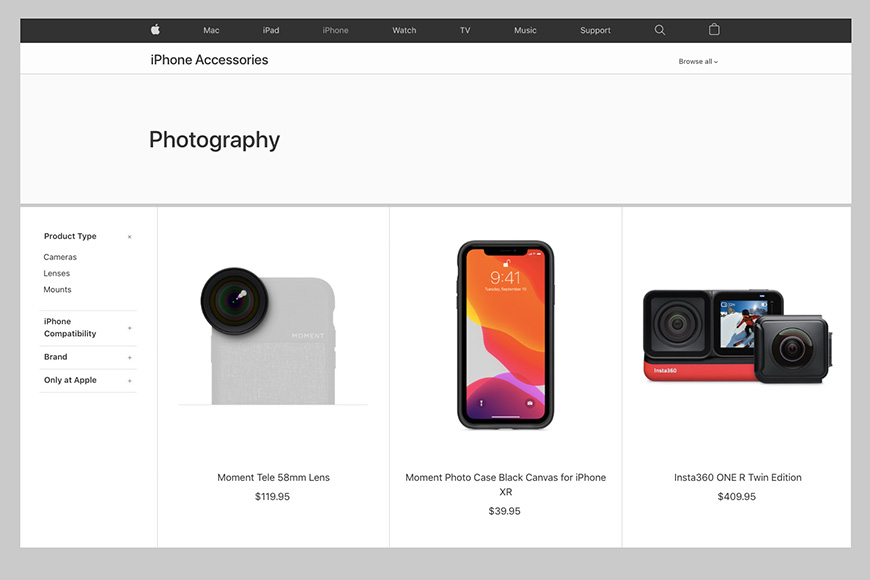
In the Apple store, you’ll find all accessories that ensure quality and compatibility, but you need a reasonable budget for those.
If you want to start small, there are great affordable options that you can buy on Amazon or in local photography stores. Here’s a list of some of our favourite tripods and stands for the iPhone.
3. Use Portrait Mode to enhance your subject
An effective way to make your subject stand out is blurring the background. The iPhone’s Portrait mode gives you this choice.
Some models even allow you to choose how much blur you want after you’ve taken the photo. Just open the picture in the Photos app, tap on the f icon, and move the slider.
Just like in cameras, a small f-number will give you a shallower depth of field – i.e, more blur. If you slide it to the right towards a higher f-number, you’ll have less blur.
The iPhone XE and iPhone XR only allow you to use Portrait mode when they detect a face. In other models, you can use it to create depth of field with other subjects as well.
However, it’s still possible to adjust the depth of field by getting closer. When you shorten the distance between you and your subject, you’ll blur the background.
Adding different lenses to your iPhone also lets you play with varying depths of field.
4. Enter a photo contest

Photography contests are an excellent way to keep you motivated and encourage you to set new goals for yourself.
Plus, you might even win a prize or two – and who would say no to that? The IPPAWARDS is the most famous photo contest dedicated to iPhone photography.
There are also many other contests to keep you going year-round. Participate in the ones that you find most inspiring – just make sure you check the rules every time you enter a contest.
5. Try the burst mode
If you like photographing anything in motion – like children playing, sports or your pet – you know how difficult it is to capture the perfect moment.
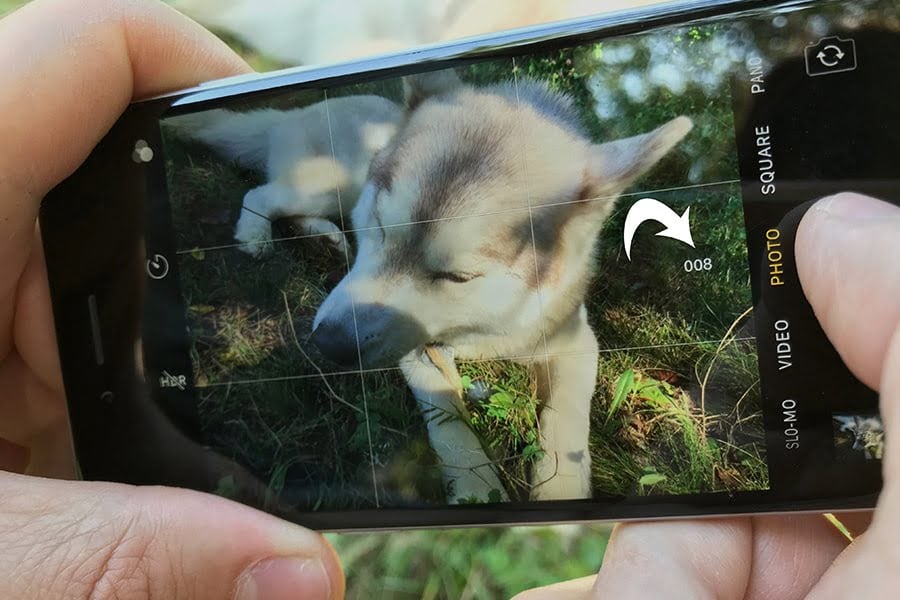
If you hold the shutter button while using the iPhone camera app, you’ll activate the burst mode.
This makes the camera fire off ten images per second for as long as you keep holding it. With this feature, you’ll never miss the action again.
6. Use the volume button to avoid camera shake
Like any other camera phone, the iPhone has a shutter button on the screen that’s so evident that you use it without a second thought.
Using this button can cause camera shake and sometimes it’s just uncomfortable to reach depending on how you’re holding your iPhone.
What you may not know is that you can take a picture by pressing the Volume Up button on the side.
Try it out, and you’ll notice how your images in low light situations are sharper because you can hold the iPhone more steady.
7. Make your workflow more efficient
After you’ve taken you’re an amazing photo with your phone, I always recommend transferring it to your computer right away – not only does this create a secondary backup (in case you lose your phone), but it also allows you to further edit the image with more powerful software.
If you’re using an iPhone, you can transfer the images using Apple AirDrop or inPixio’s own Photo Transfer App, which also works on Android phones and PC’s too.
8. Keep your eyes open
My last advice is – I believe – the most valuable of all. Keep your eyes open to find the extraordinary in everyday life.
This way, you can use all the techniques and equipment to show your point of view. That’s what will make your photos memorable and unique.
Having a camera in your pocket means that you’re ready at all times: use that to capture the best moments in your life.


Mastering Image Resizing: A Step-by-Step Guide on How to Resize an Image

How to Remove the Background from a Picture with inPixio: A Step-by-Step Guide

What are WebP files and how do you convert them?

5 Social Media Photo Tips for Busy Small Business Owners