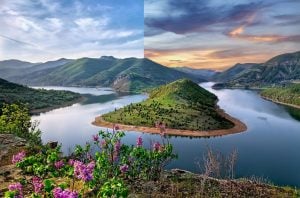
How to change a photo background
There are many reasons why you might want to change the background of a photo. Here are just a few examples:
- If the background contains items that distract from your subject.
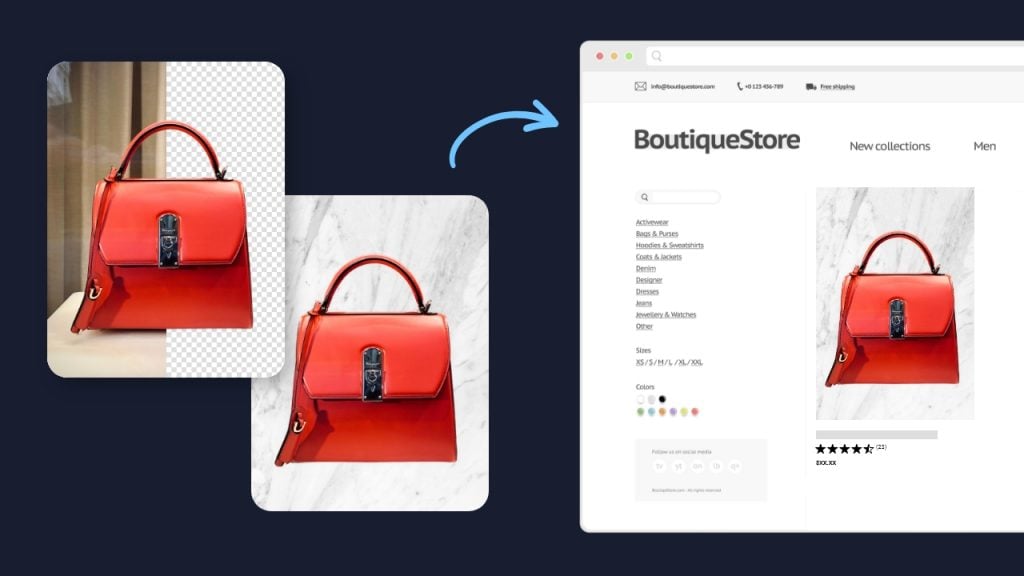
- When you need a plain white background. This is common for product and e-commerce photos.
- When creating graphics such as a birthday card or flyer.
- Just for fun!
In Photo Studio Pro, it’s easy to change a photo background. inPixio’s AI automatically removes your old background and lets you add a new one.
3 basic steps for replacing a photo background
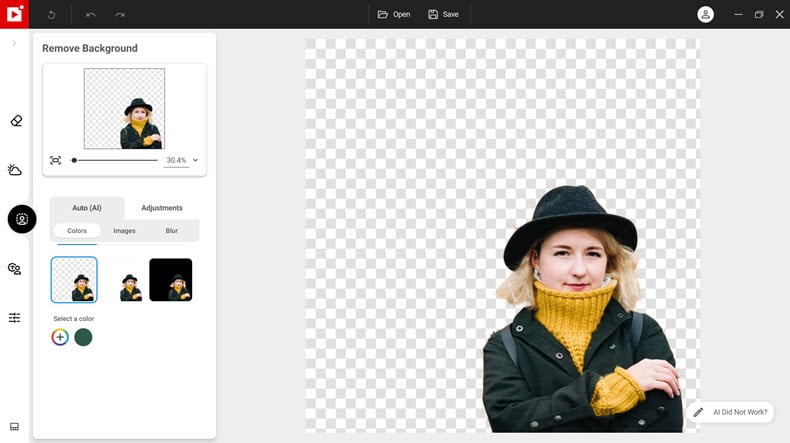
1. Open your photo and go to the “Remove Background” tab.
2. Photo Studio removes the background automatically.
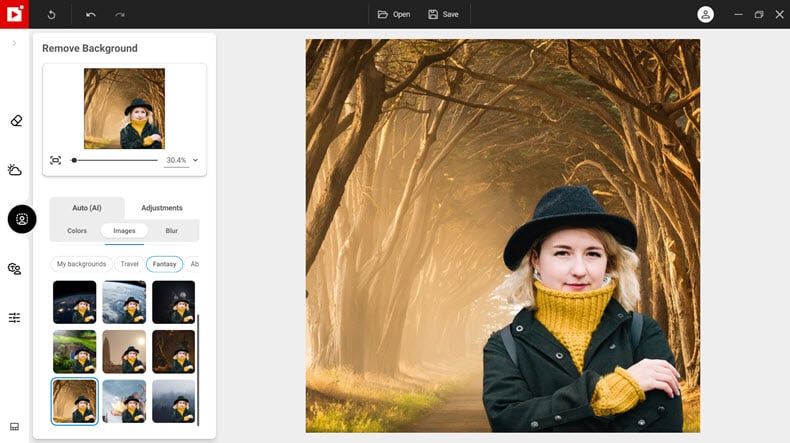
3. Choose a new color or image background from the library or upload your own photo as a background (more details below).
Adjusting your selection manually
Photo Studio Pro uses AI technology to automatically make your background transparent.
To fine tune the automatic background removal, click “Adjustments”, “Selection”, then “Adjust selection”.
Use the markers to adjust the background, foreground, and edges of your selection.

- Delete areas you don’t want in your selection with the red marker
- Bring back areas that were deleted by accident, using the green marker
- Use the yellow marker to increase feathering around unclear edges, such as hair
Tip: use the “brush size” slider to make your marker smaller, and access small areas more easily.
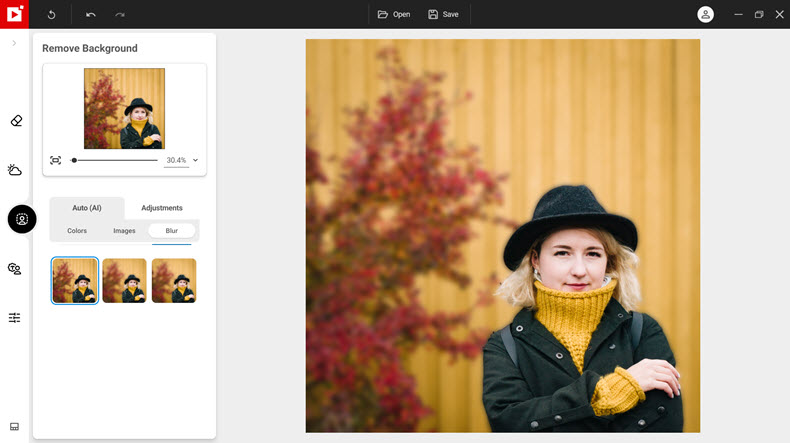
Blurring your background
Instead of changing your background, you can keep the original background image but blur it. In the Auto (AI) tab click, “Blur” then select the level of background blur desired.
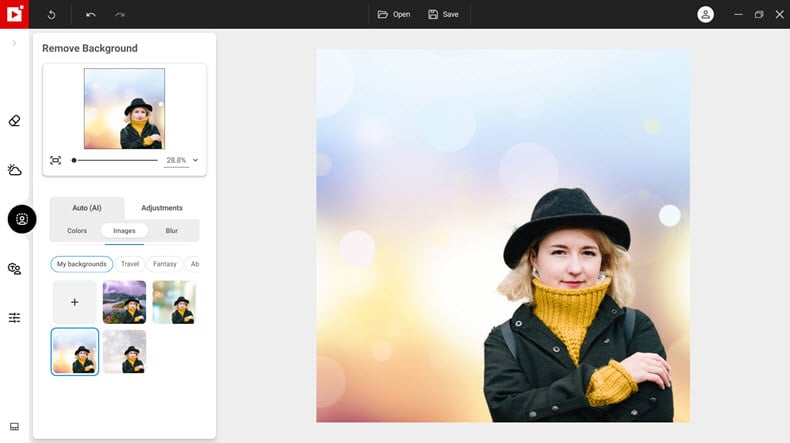
Using your own background
To add one of your own photos as background, click “Images”, then “My backgrounds”. Click on the plus to upload a photo from your computer.
Now you know all there is to know about changing a background in Photo Studio! Why not experiment with different photos and see what you can create…
Note: the AI Background tools are available only in the Pro and Ultimate versions of Photo Studio. In the Standard version of Photo Studio, you can use the Photomontage tab to cut out a photo and add it to a new background.
If you don’t already own Photo Studio Pro, why not download the free version to test the background changer tool or try our online background changer.
Join us!
To learn more quickly and for lots more tips and tutorials, join our Facebook group!


Mastering Image Resizing: A Step-by-Step Guide on How to Resize an Image
How to Remove the Background from a Picture with inPixio: A Step-by-Step Guide

What are WebP files and how do you convert them?

5 Social Media Photo Tips for Busy Small Business Owners