How to make a transparent cut-out
Learn how to create transparent images in Photo Studio that are ready to use in all your photomontages. This is handy for any images you regularly add to pictures, including logos and watermarks.
How to make a cut-out with the Photomontage tools
The Photomontage tab is great for making quick cut-outs that you can add directly to your photomontages.
Open any photo in Photo Studio, for example open a recent image from the home screen. Then click the Make Photomontage tab in the left-hand panel.
Next, click More Items and then Images. Finally, click the + and select “Adding and clipping images”. Choose a picture to cut out from your folders.
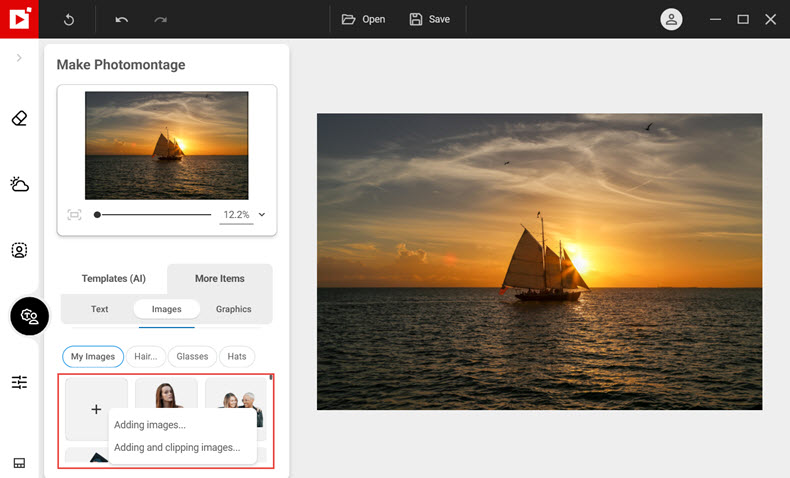
Photo Studio removes the background automatically and adds the cut-out to the library. It will stay here unless you delete it.
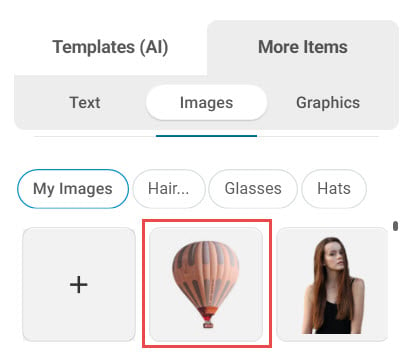
Repeat this process as many times as you like to build up a library of cut-outs to use in your photomontages.
How to make a cut-out with Remove Background
If you want to cut out from a complex photo, we recommend using the Remove Background tab for more precision (Pro version only).
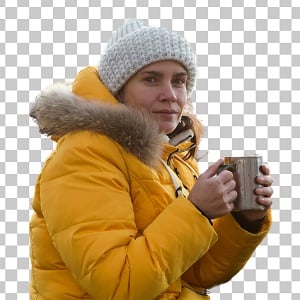
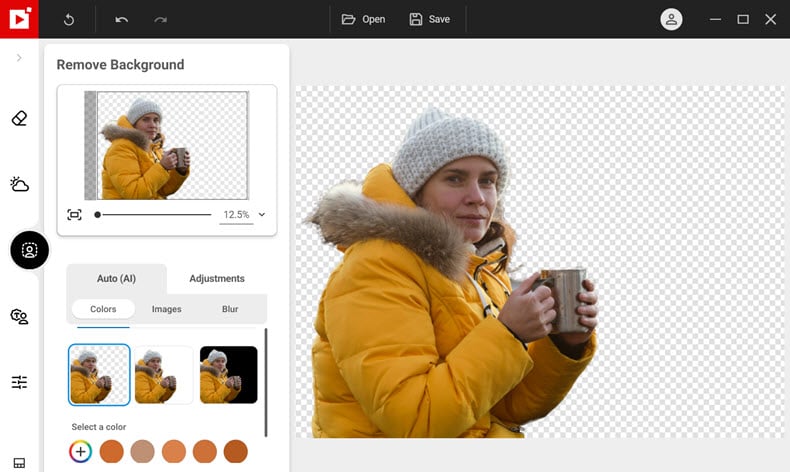
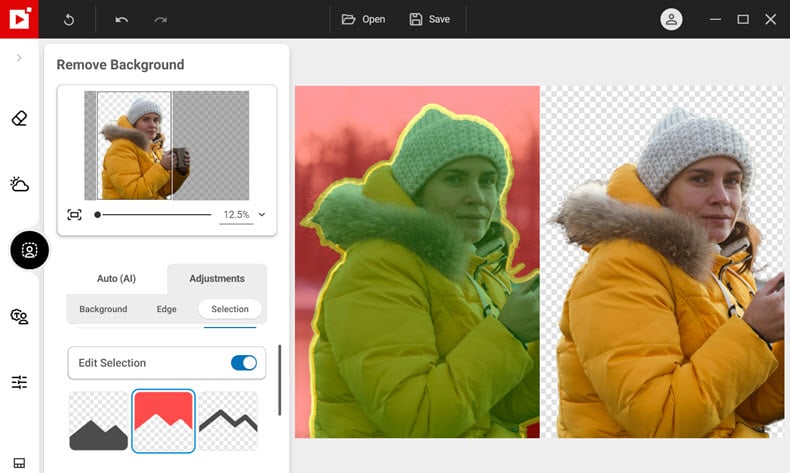
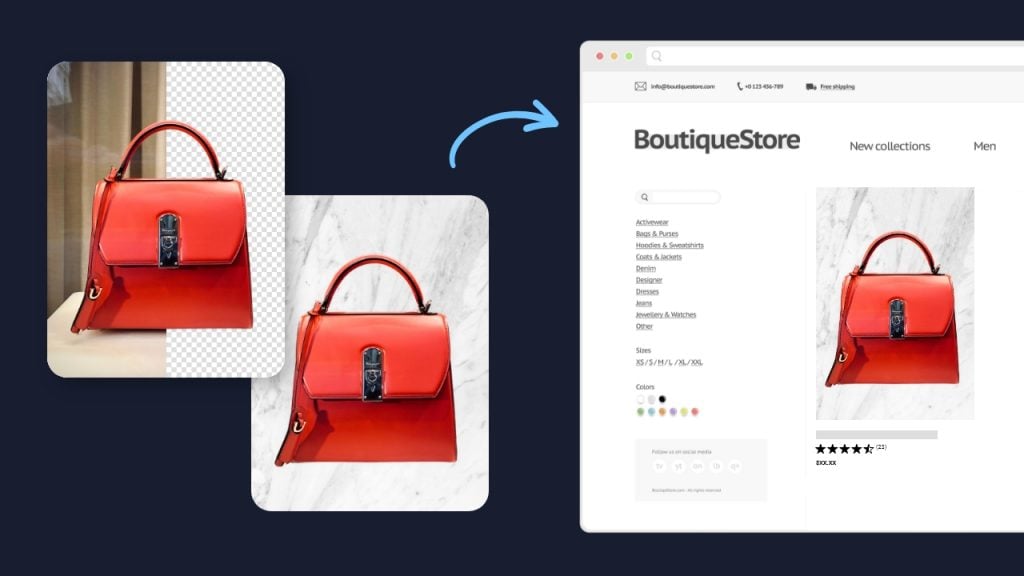
Open the photo you want to cut out in the Remove Background tab. Photo Studio removes the background automatically. Make sure that the checkered background option is selected. This will give you a transparent image.
Next select Adjustments, and Selection. Click Edit Selection to open the different options. Use the Foreground, Background and Edge markers to fine tune the selection. When you’re happy with your cut-out, save it to your computer.
You can easily import your transparent photo to the Photomontage tab in order to use it in different pictures.
Click Make Photomontage, More Items, then Image. Click the + and select “Adding images” then choose the transparent cut-out from your folder. Photo Studio adds it to the library.
How to add your transparent cut-outs to a new background
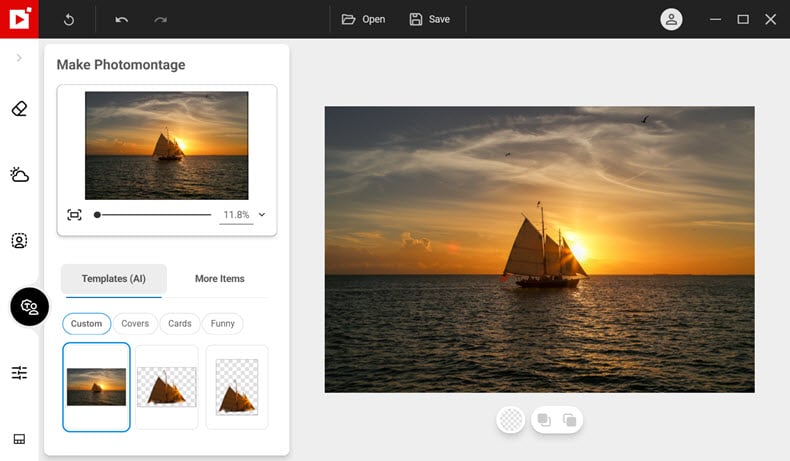
To add one of your cut-outs to a background, simply open the background image in Photo Studio and navigate to the Photomontage tab.
Click Custom and select the original image.
Then go to More Items, Images, and drag and drop your cut-outs from the library onto the new background. Use the image handles to arrange the cut-outs against the background.
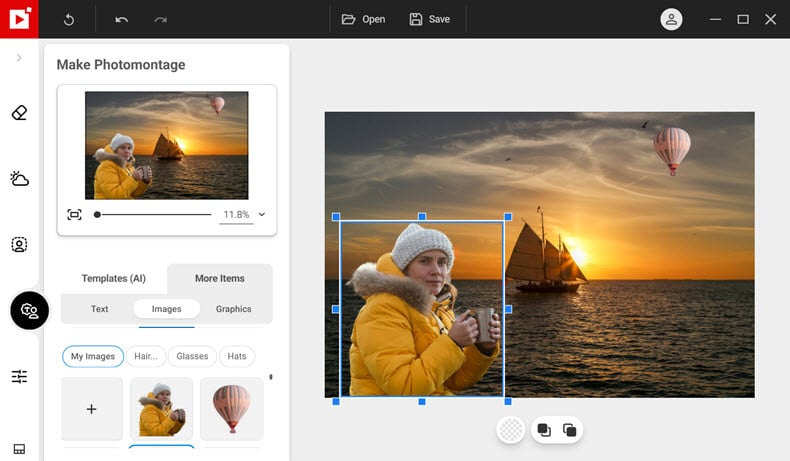
Remember that your cut-outs are now saved in the Images section, ready to use in your next photomontage.
Learn more about combining photos.
Join us!
To learn more quickly and for lots more tips and tutorials, join our Facebook group!


Mastering Image Resizing: A Step-by-Step Guide on How to Resize an Image
How to Remove the Background from a Picture with inPixio: A Step-by-Step Guide

What are WebP files and how do you convert them?

5 Social Media Photo Tips for Busy Small Business Owners