Photo cropping for prints and more
Cropping your images to a standard size is useful for printing them or sharing them on social media. Learn how to downsize an image to different formats and discover what else you can do with the crop tool.
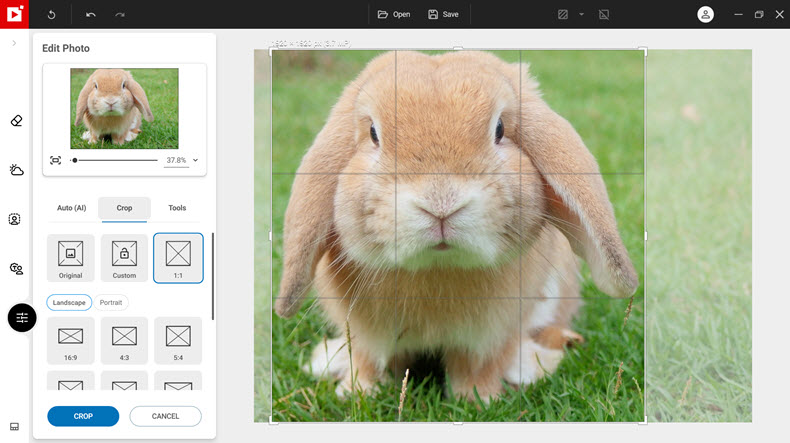
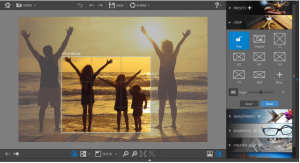
Find the crop tool
The crop tool is located in the Edit Photo tab.
- Click the Crop tab to open the crop tool. You will see grid-lines appear on your image.
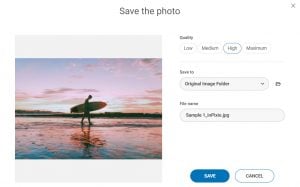
- Use the handles to resize your image. Then click crop to confirm.
Crop options
By default, the option “Original” is selected in the left-hand panel. This means that your image will keep its original proportions (aspect ratio) when you resize.
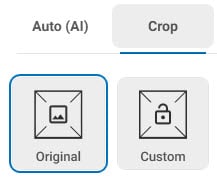
Alternatively, you can select “Custom”. This lets you adjust both the size and proportions of your image freely.
You can also choose from a selection of crop presets in common ratios in landscape or portrait fomats.
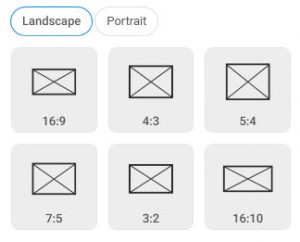
Some standard crop formats
- 1:1 gives you a square image
- 3:2 is good for ordering photo prints
- 9:16 is commonly used for Instagram and Facebook stories
You can switch from horizontal to vertical versions of these formats.
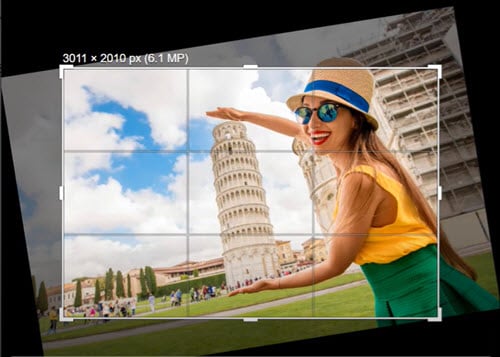
Tip: image size is in pixels, find out how to convert this into inches.
What else can you do with the crop tool?
- Rotate your photo 360 degrees.
- Create a vertical or horizontal mirror image.


- Change the angle of your photo, using the slider, to create a different perspective.
Join us!
To learn more quickly and for lots more tips and tutorials, join our Facebook group!


Mastering Image Resizing: A Step-by-Step Guide on How to Resize an Image
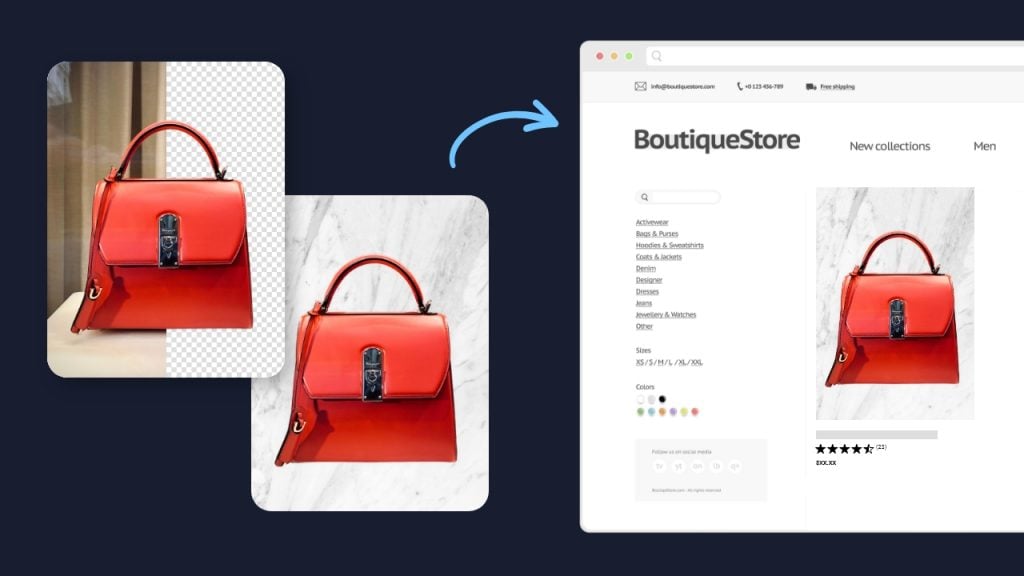
How to Remove the Background from a Picture with inPixio: A Step-by-Step Guide

What are WebP files and how do you convert them?

5 Social Media Photo Tips for Busy Small Business Owners