4 ways to retouch portrait photos
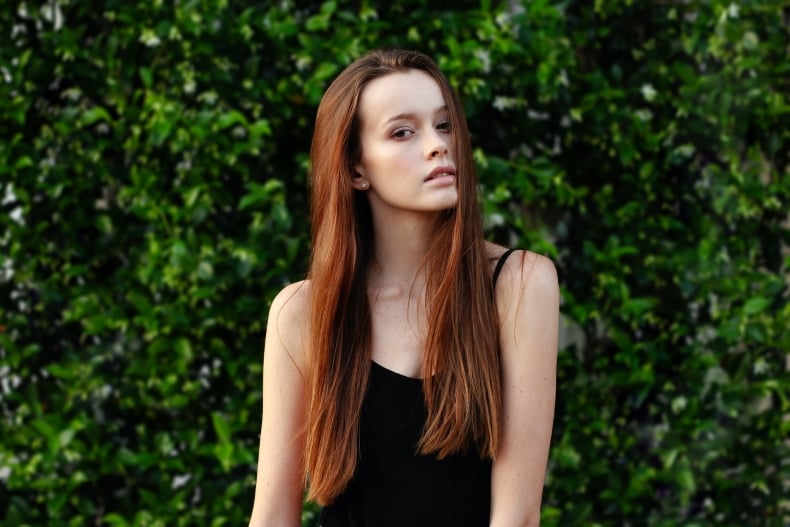
Give your portraits a professional finish with a little bit of editing. In this tutorial, you’ll learn 4 techniques for creating polished portraits. Depending on your picture and preferences, you can try one or all of these edits.
- Optimize your image settings
- Reduce wrinkles and blemishes
- Create a bokeh effect blurred background
- Crop your image
1. Optimize your image settings
If your photo looks a bit dull or flat, you can try adjusting some settings.
One-click correction
The easiest way to optimize a photo is to use the Auto-correction function. This will automatically boost color and light in your image.
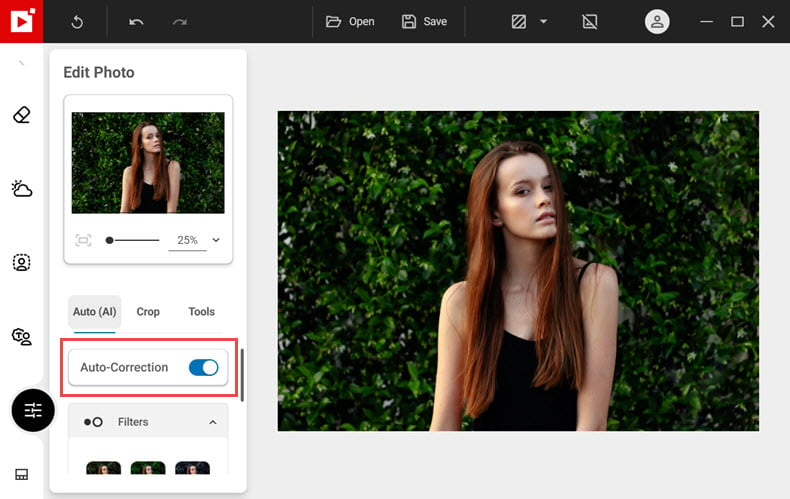
Image adjustments
You can also use the sliders in the Adjustments tab (select Tools – Correction) to improve certain settings on your image.
For example, increase exposure, saturation, and contrast for a brighter, more vivid picture.
Learn more about different ways to enhance a photo.
2. Reduce wrinkles and blemishes
If you want to reduce the appearance of wrinkles and blemishes in a portrait, you can do this using the tools in the Erase Objects tab.
- Using the paintbrush selection tool, highlight lines, spots etc. that you want to remove.
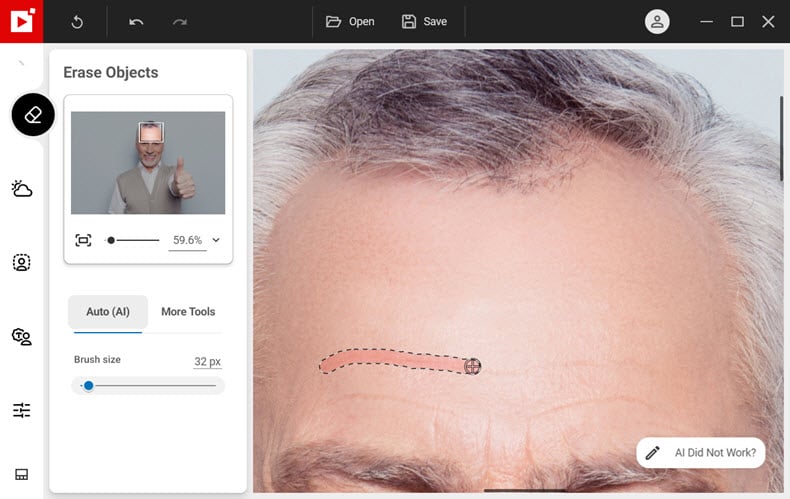
Photo Studio will remove the selected areas to leave a more air-brushed finish.
Tip: for the most natural results, adjust brush size to get a more precise selection.
Learn more about the Erase tool.
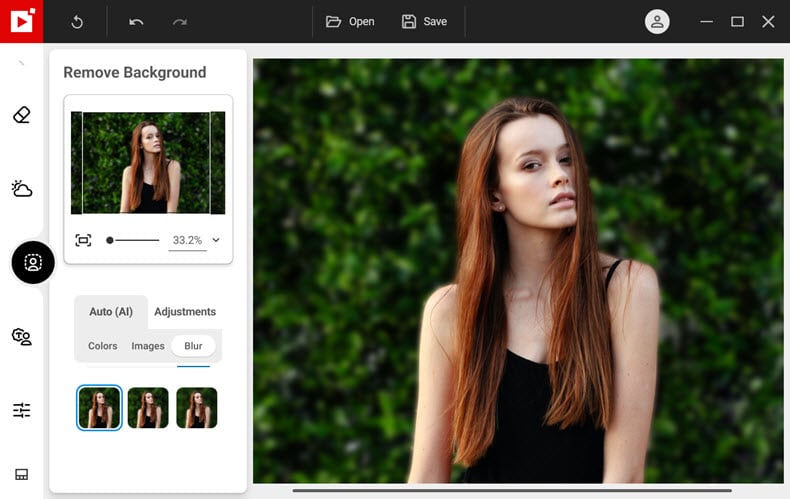
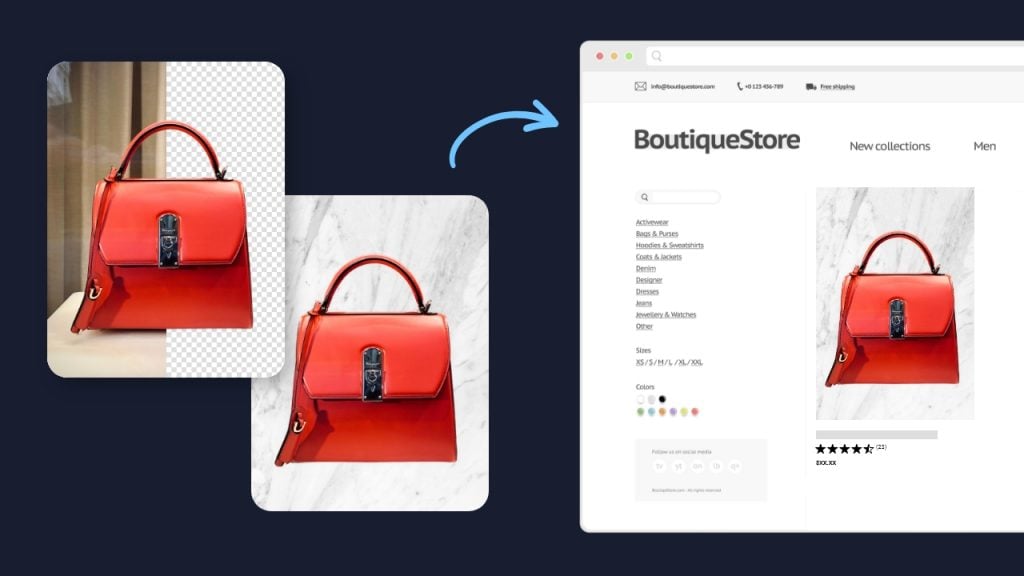
3. Create a bokeh effect blurred background
Blurred backgrounds are popular in portrait photography as they help draw attention to the subject of the picture, while keeping a natural look.
You can add a bokeh effect in the Remove Background tab.
- Click the Blur option and select a level of blurriness.
Learn how to edit a photo background
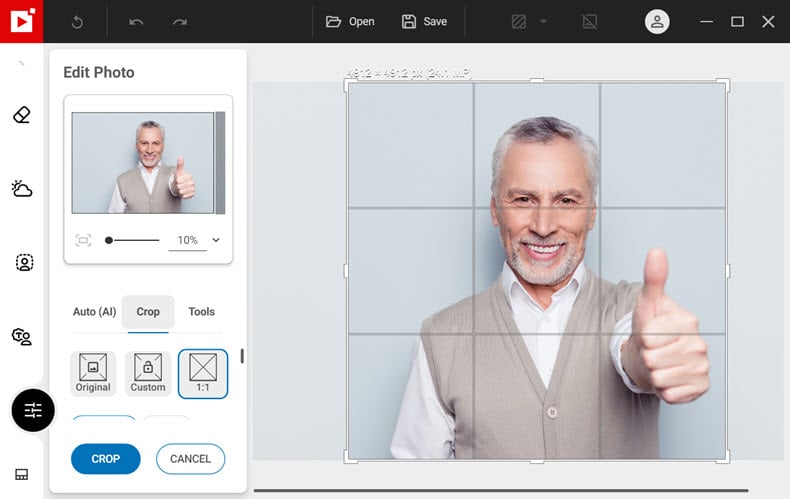
4. Crop your image
Last but not least, you can crop your portrait photo. Cropping helps cut out distractions and place your subject centrally in your photo.
Cropping a photo
In the Edit Photo tab, click Crop and choose a preset ratio. Some popular formats include:
5:4 – common for portrait photos and compatible with Instagram
3:2 – if you want to print a 6×4 photo
1:1 – for a square image, also good for social media
See our full photo cropping tutorial
Join us!
If you want to learn faster, why not join our inPixio Facebook community, where thousands of inPixio users exchange tips about the software and share their photos.


Mastering Image Resizing: A Step-by-Step Guide on How to Resize an Image
How to Remove the Background from a Picture with inPixio: A Step-by-Step Guide

What are WebP files and how do you convert them?

5 Social Media Photo Tips for Busy Small Business Owners