3 tips for better background erasing
Are you having difficulty removing a background? Some photos are trickier to cut out than others but don’t worry, here are some easy tips that can help you get a better result.

Tip 1 – Change view mode when cutting out
In Photo Studio, when you remove areas from a photo they are replaced by a “checkerboard” background by default. However, you can also choose a color background view.
Using a color background makes it easier to see which areas still need removing, and which areas have been removed by accident.

How to get a color background
- Click the small triangle next to the View mode of removed areas icon in the top toolbar.

- In the dropdown menu select On color background. This adds a color background to the preview area of your picture.
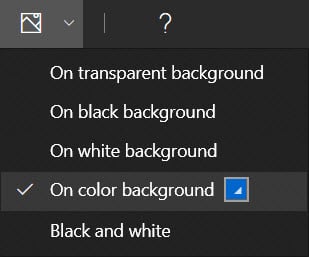
- To change the color of the background, click the color sample to open the palette.
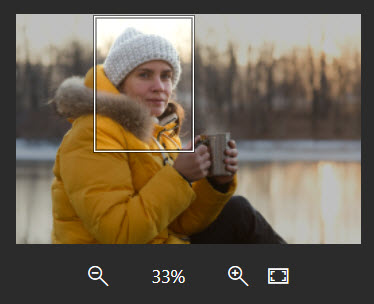
Tip 2 – Use a smaller brush and zoom in
The best way to deal with more complex photos is to work in small sections. Try zooming in and reducing brush size to mark precise areas of your photo.
- Zoom in using CTRL Z, or your mouse wheel. Alternatively, use the zoom options at the top of the right-hand panel.
- Adjust brush size using the slider in the right-hand panel, underneath the cut-out markers.

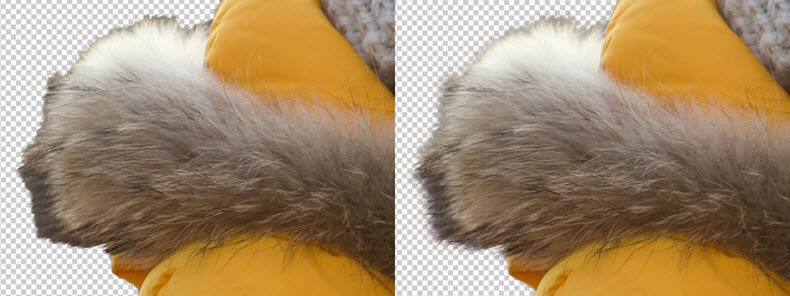
Tip 3 – Use edge smoothing on difficult edges
If your photo has unclear edges, such as hair, increase Edge smoothing to feather them.
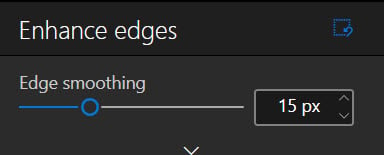
- Select the Edge enhancement tab in the right-hand panel.
- Move the Edge smoothing slider to the right to increase feathering.
 You can also use the Edge to improve tool in the Manual Improvement menu to highlight tricky edges individually and get more detail.
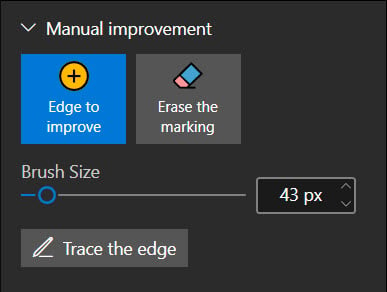
Find out more with this video:
Join us!
To learn more quickly and for lots more tips and tutorials, join our Facebook group!


Mastering Image Resizing: A Step-by-Step Guide on How to Resize an Image

How to Remove the Background from a Picture with inPixio: A Step-by-Step Guide

What are WebP files and how do you convert them?

5 Social Media Photo Tips for Busy Small Business Owners