How to duplicate an item with the Clone tool
The Clone tool is used to manually copy and paste one part of an image over another part of the same image. Learn how to use the Clone tool to duplicate objects in a picture.

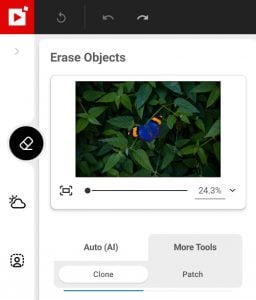
Locating the Clone tool
From the Photo Studio workspace, select the Erase Objects tab, then click “More tools” and “Clone”.
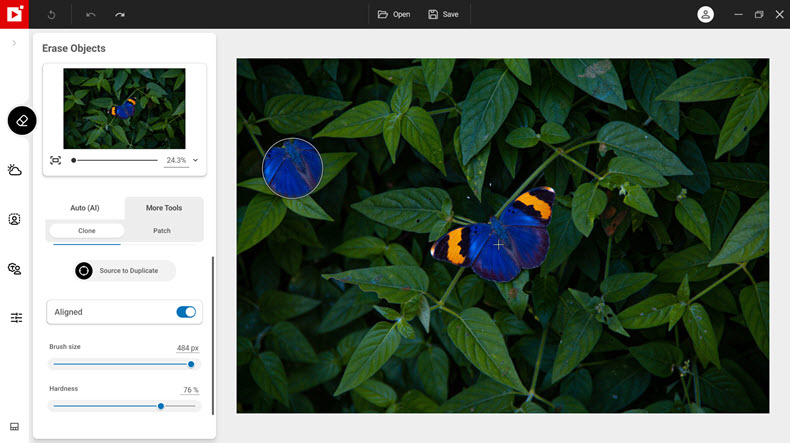
Selecting a source point
Click “Source to duplicate” and adjust brush size with the slider. Next, click the item on your photo that you want to duplicate. In this example, we’ve selected the butterfly.

Now move your mouse to the area where you want to duplicate the item. The source point is marked with a small cross. Your mouse pointer now turns into a brush and displays a circle, showing a preview of the content you will clone.
- You can enlarge or reduce the size of the cloning brush using the “Brush size” slider
- You can also adjust the brush tip, using the “Hardness” slider
Duplicating the item
Hold down your mouse button and “paint” the item into position. When you are happy with your duplicated item, release the mouse button to stop cloning.
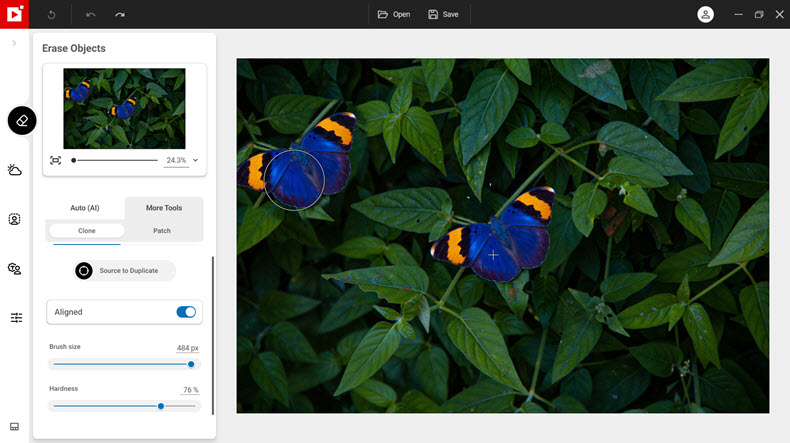
To duplicate another item, simply repeat the process by re-selecting a source point to clone from.
What else can you do with the Clone tool?
You can also use the Clone tool to remove an object in your image. The process is the same: click to select the area you want to copy, then paint with your mouse pointer to paste this content over the object you want to remove. Find out more about erasing objects.


Mastering Image Resizing: A Step-by-Step Guide on How to Resize an Image

How to Remove the Background from a Picture with inPixio: A Step-by-Step Guide

What are WebP files and how do you convert them?

5 Social Media Photo Tips for Busy Small Business Owners