How to remove noise from a photo
Image noise can be hard to avoid when photographing in dark conditions. Fortunately, photo noise reduction is easy with Photo Studio. You can correct your digital pictures in seconds thanks to the handy slider settings.
To follow along and test this tutorial in real time, download the free trial version of Photo Studio below:
What is noise reduction in photo editing?
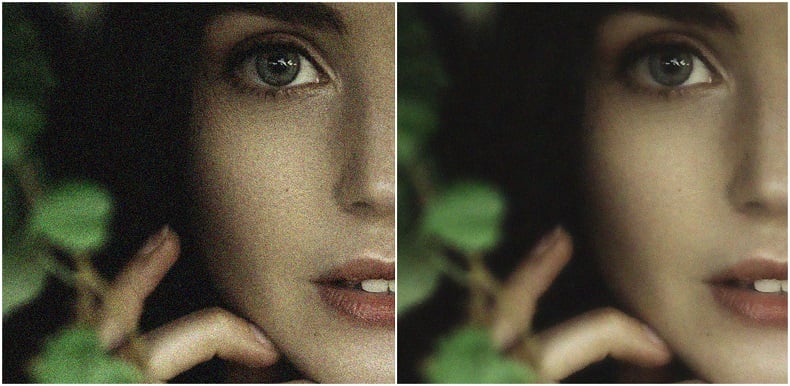
Image noise reduction or “denoise” is the process of removing digital noise from a picture. Noise distortion is unique to digital photos and is particularly common in photos taken in low light situations. It creates a grainy or pixelated look in pictures and in some cases can cause spots of discoloration in an image. Denoise therefore helps to minimize distortions for a more natural-looking photo.
How to remove noise from an image
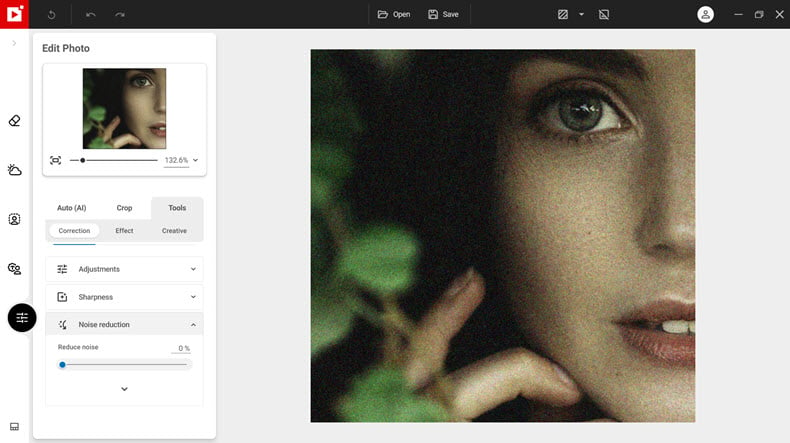
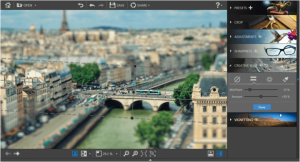
- Go to the Edit Photo tab and select “Tools”, “Correction”, “Noise reduction”
- Move the Reduce noise slider to the right to correct the image
- Once you’re happy with the photo, click save
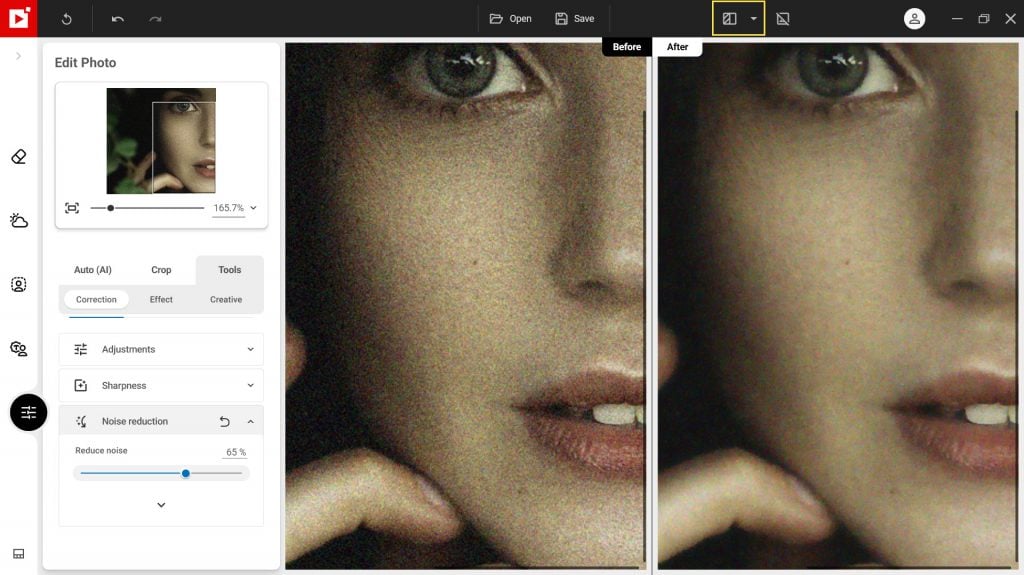
Tip: Try editing in a before/after view. This lets you compare your new image with the original as you edit.
- Select a dual view from the menu in the top toolbar.
Additional denoise settings
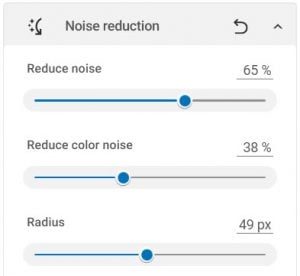
Photo Studio offers two other settings to refine noise reduction: Color noise and Radius. To view these settings, expand the menu by clicking the small arrow next to Noise reduction.
Color noise
Color noise is a type of noise that causes colored blotches or flecks in a picture. It usually appears in areas of shadow in an image.
- Move the color noise slider to the right to reduce color noise in a picture.
Radius
Depending on what device you used to take your picture, you may want to adjust the noise reduction radius. The radius slider sets the amount of denoising around each pixel. A higher radius will make the image look smoother but could also lose some details.
- Move the slider to the right to increase the radius, or to the left to decrease it.
Tip: A lower radius is best for photos with fine details, taken with a high-quality camera. A higher radius is often better for smartphone pictures or photos with coarse details.
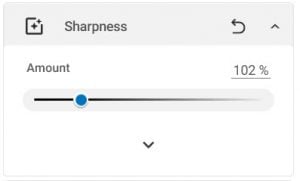
Adding sharpness
Sometimes denoising a photo can cause it to lose sharpness, but don’t worry as you can easily resharpen an image:
- Staying in the “Correction” tool, click Sharpness
- Move the slider to the right to increase sharpness
Now you know all there is to know about denoising a photo in Photo Studio!
Join us!
To learn more quickly and for lots more tips and tutorials, join our Facebook group!


Mastering Image Resizing: A Step-by-Step Guide on How to Resize an Image

How to Remove the Background from a Picture with inPixio: A Step-by-Step Guide

What are WebP files and how do you convert them?

5 Social Media Photo Tips for Busy Small Business Owners